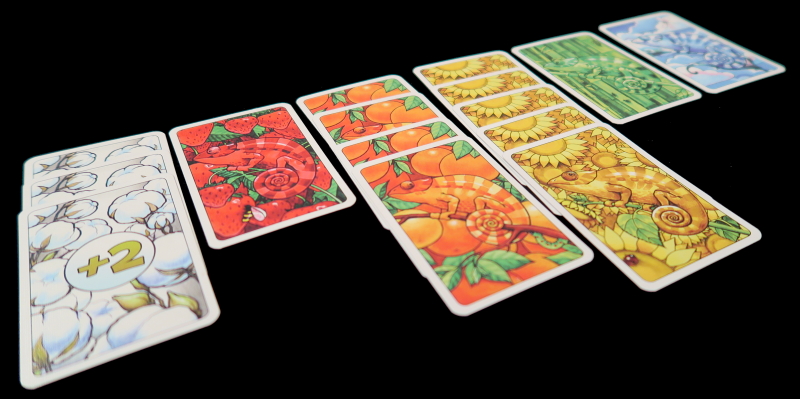
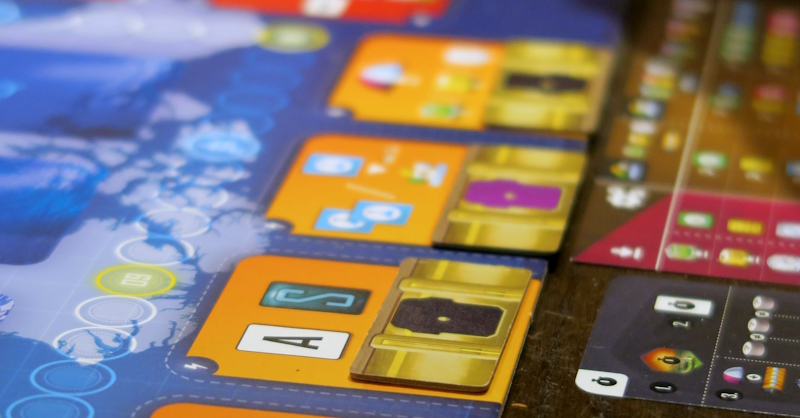
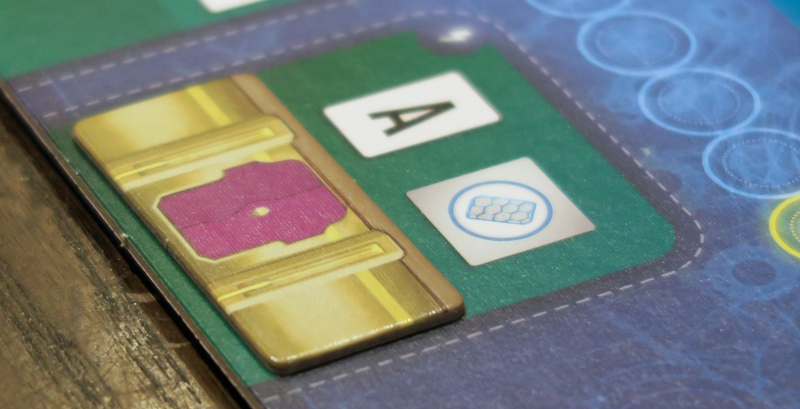
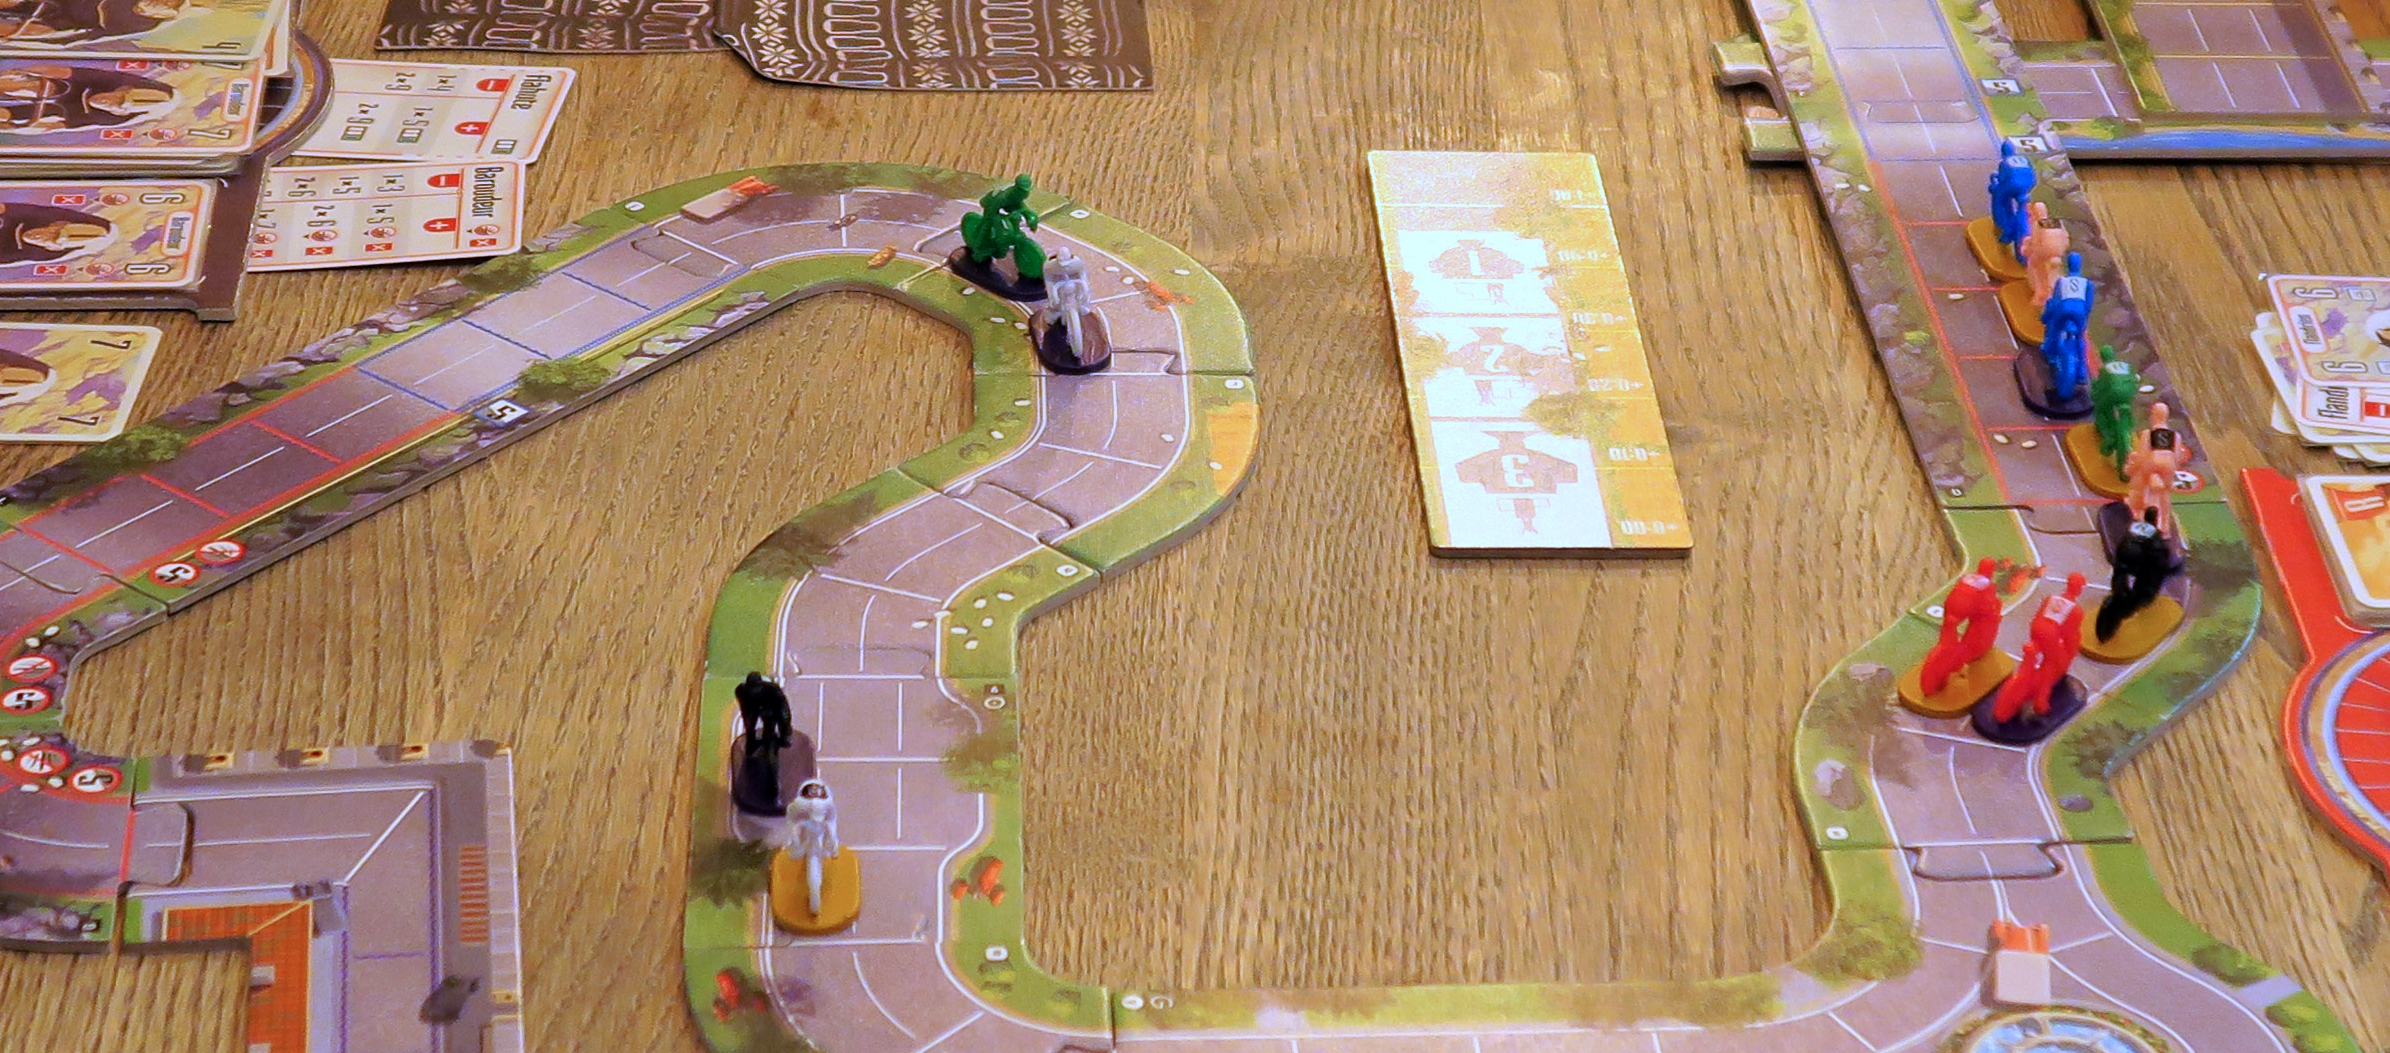
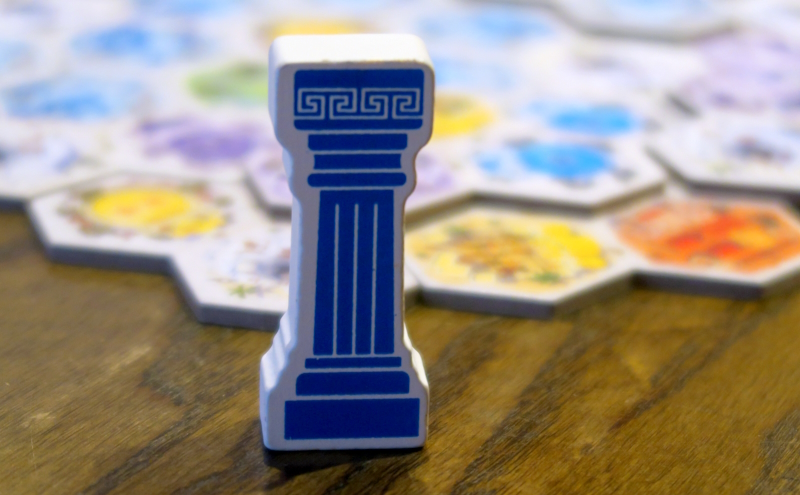
Cobalt was first to arrive. Pink and Blue weren’t far behind though, and had just ordered their supper when Indigo and her son Navy arrived followed by Jade and Sapphire, then Ivory, Purple, Black, Pine and Teal. While the others chatted and got drinks, Cobalt began teaching Indigo and Navy Akropolis. This is a quick little game where each player is building their own acropolis. On their turn, players first take a tile the market. The first tile in the market display is always free, the one after costs one stone (the only resource in the game) the next one two stone and so on. The tiles comprise three conjoined hexes each either a Quarry (which provide Stone when built over), a Plaza, or a District tile.
 |
| – Image by boardGOATS |
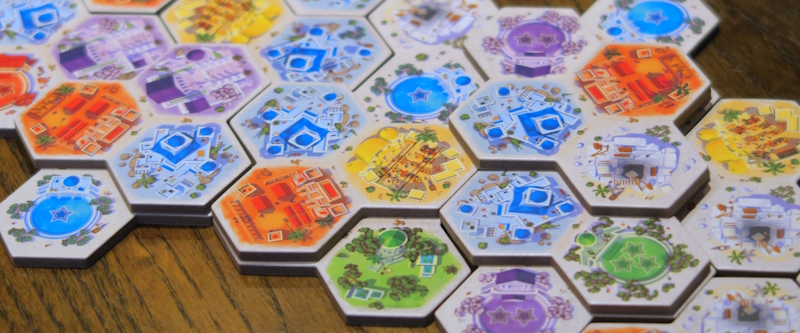
Plazas and District tiles are in different colours, representing Houses, Markets, Barracks, Temples and Gardens. Tiles are freely added to the player’s display, either on the base layer or on top of other tiles, so long as any Districts meet the their conditions and as long as there is a matching Plaza present. At the end of the game, players score for the largest District of each type—each visible hex scores a point for the level it is on (one point for the base layer, two for the first floor etc) multiplied by the number stars shown on the Plazas they have visible. The game is a sort of cross between Taluva and Cascadia, taking the conjoined triple-hex tiles and layered stacking from Taluva and the tile-placement and individual tableau from Cascadia.
 |
| – Image by boardGOATS |
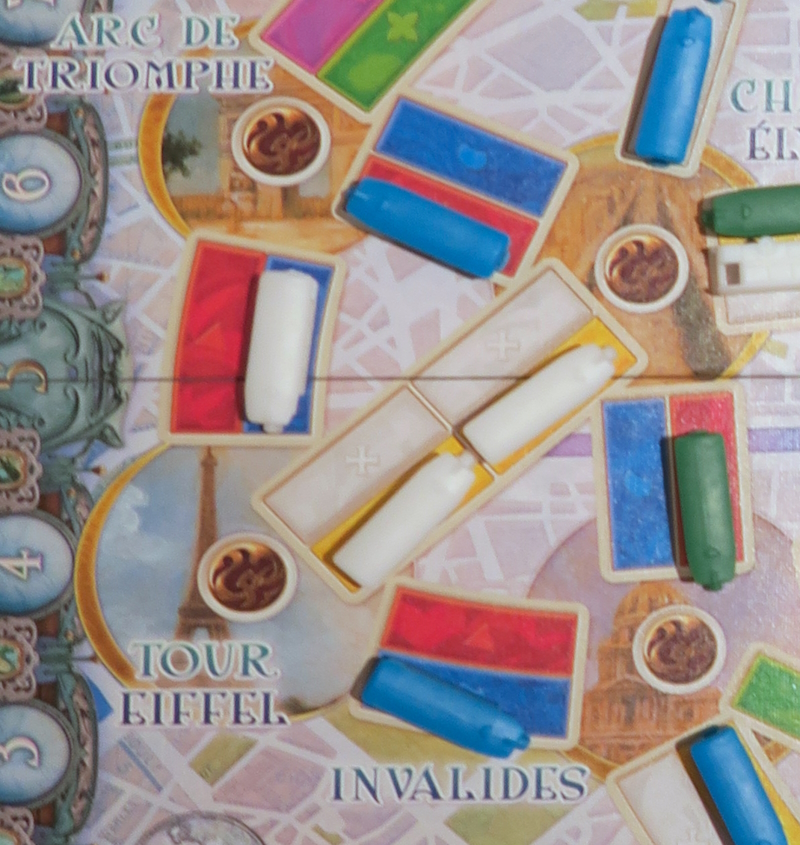
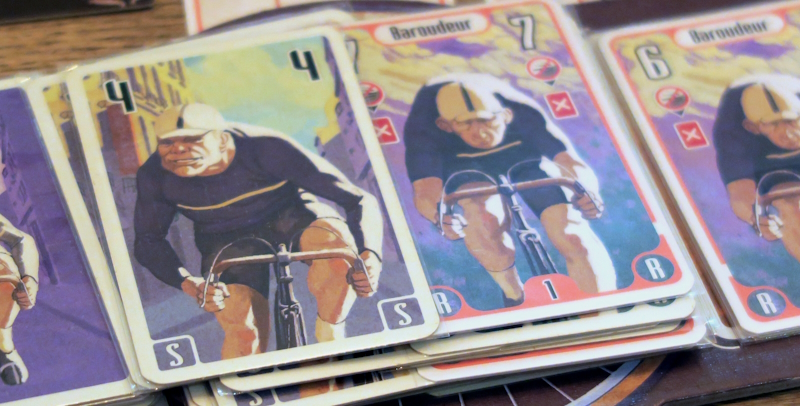
The game was quite tight between Cobalt and Navy, but Navy had the edge, winning his first game in the group with a hundred and eighteen points to Cobalt’s hundred and five. As the game came to an end, the rest of the group began trying to work out who was going to play what. In the end, there were two groups setting up to play the “Feature Game” which was Ticket to Ride: Rails & Sails. This is a variant of the popular train game, Ticket to Ride, but with a considerable step up in complexity. In the original game, players take it in turns to carry out one of three actions: take train cards, pay train cards to claim Routes on the map by placing train pieces, or take Tickets. Points are scored for claiming Routes and for successfully connecting the two places shown on their Tickets with negative points scored for failing to complete Tickets.
 |
| – Image by boardGOATS |
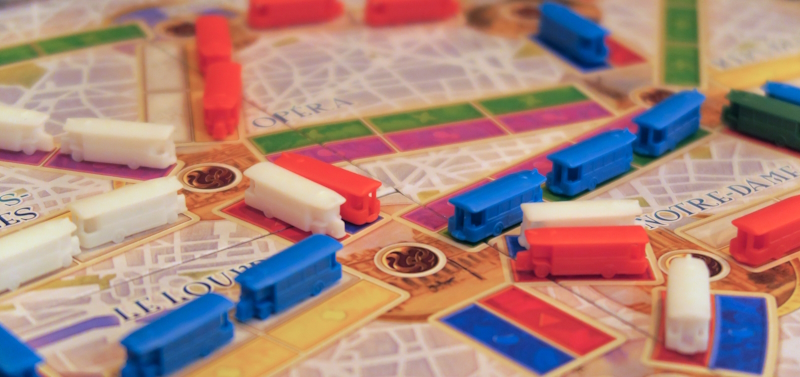
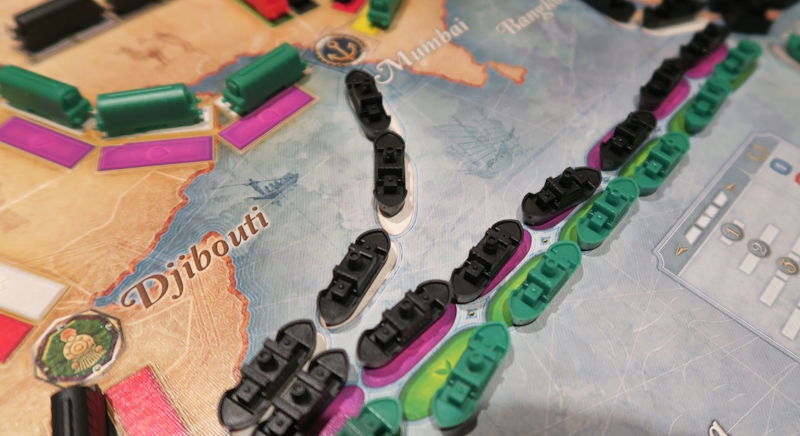
In Rails & Sails, however, players build two connected networks, one on land and one on sea covering the whole globe. Players build these with two separate sets of train cards, giving them two hands to manage, making it a more complex version of the game. In addition to the usual four possible actions, on their turn, players can also build a Harbour into a city that they have already claimed a route into. To do this, players spend two Train cards and two Ship cards that are all the same color and all have Harbour symbols on them. At the end of the game, players gain points for each Ticket that lists their Harbour, with players scoring for each Harbour when more than one features on their Ticket.
 |
| – Image by boardGOATS |
Another thing that adds to the complexity is the tension between Ships and Trains: at the start of the game, players have a set total number of Ship and Train pieces, and choose choose how many of each they will have. During the game, instead of a normal turn, they can exchange Ship pieces for Trains or vice versa, but at a cost of one point per piece swapped. There are two different maps in the game, one covering the Great Lakes, and the other covering the whole World—the total number of Ships/Trains players have depends on which of these is used. This time, both groups used the World map. In addition to these major rules changes, there are also a couple of minor tweaks.
 |
| – Image by boardGOATS |
For example, there are Double cards in the Ship deck, which allow players to place up to two Ships per card. There are also Tour Tickets, which feature more than two destinations—these will score a higher number of points if the locations are connected in the right order (and of course, will score negatively if one of the destinations in not connected at all). On the World map, there are Pair Routes too. These require the player to place two train cards of the same colour per space, but the whole Route doesn’t have to be the same colour. There are the usual Double Routes as well, which come into play with four or five players, and multi-colour “Wild” cards which can be used as either Ship or Train cards of any colour.
 |
| – Image by boardGOATS |
Jade, Ivory, Sapphire and Pine made up the first group. In their game, Jade and Ivory started by focusing on Trains while Pine and Sapphire began with Ships giving them both taking an early lead with Ships generally giving more points. Sapphire went to the front and stayed there for the majority of the game. There was an initial scrabble in Asia/south east Asia as well as along the east coast of north and central America, and apart from some early commitments from Pine and Sapphire in the latter, in general there was no major “blocking” and everyone at least tried to play nicely. That said, by the end of the game the board was very congested, perhaps due to the wrap around nature where Routes could fall off one side and come back on on the other.
 |
| – Image by boardGOATS |
Ivory was the first to take more Tickets and it was some time before Jade joined him. Ivory went for Tickets considerably more times than anyone else and by the end of the game, he had significantly more completed Tickets than anyone else, though his were of lower value. Pine in particular started with much more ambitious Tickets and happily declared that he had finished his first ticket about half through the game. That was until Jade pointed out a potential gap in his track which Pine then hurried to fill. Sapphire was following a similar strategy to Pine with bigger, higher risk Tickets and also focused on long Routes (hence his throughout the game). It looked like he was going to trigger the end the game, but in the end, that was Pine.
 |
| – Image by boardGOATS |
Jade and Ivory both had shorter scoring Routes, but with more Tickets, predominantly located in Asia, whereas Sapphire and Pine were mapping the rest of the World. Everyone except Ivory had to take advantage of the Ships/Trains swap and although this cost points and a turn it didn’t feel like it had a large impact on the game. Both Jade and Ivory had cards at the end allowing for a late grab of high scoring Shipping lanes, but the game ended a little early for Sapphire. That said, everyone completed all their tickets, including a very complex and high scoring Tour Ticket. Pine and Sapphire eschewed Harbours, while Jade built just one. Ivory, on the other hand, went built all three in the south east, despite the fact they were challenging to place.
 |
| – Image by boardGOATS |
After placing the Ships/Trains and scoring the Tickets, the scores were fairly even, but those extra Harbours really made a difference. Sapphire and Pine took a twelve point penalty for not having any while Jade picked up twelve (an eight point penalty for not using two and twenty points for having one Ticket ending in his Harbour. Ivory, however, scored a massive ninety points from his, with each of his three Harbours having two of his Tickets finishing in them. This ultimately give him a total of two hundred and seventy-five eighty-five more than Pine who took second place. On reflection, there was a minor rules malfunction—when the group recounted the Route scoring, they failed to take account of the penalties for swapping Ships for Trains, but this was only a handful of points and wouldn’t have affected the final standings.
 |
| – Image by boardGOATS |
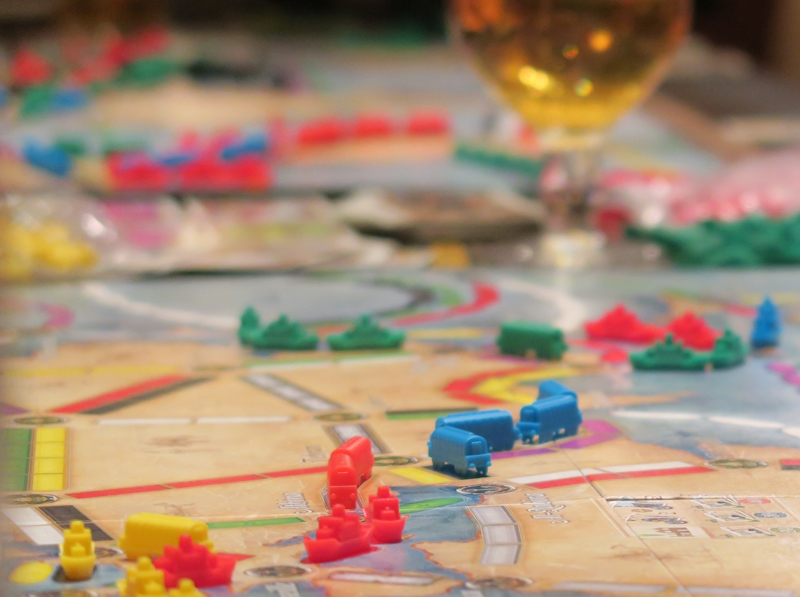
The game on the next table was not as highly scoring, but there was still quite a large spread in the scores. While Black reacquainted himself with the rules, the others chatted and counted pieces, eventually they got going though. Pink started in Australia because he liked it there when he visited almost exactly a year ago. Then, he traveled north to east Asia, visiting exotic places like Bancock, Jakarta, Hong Kong and Tokyo, before crossing the Pacific to Winnipeg. As the game came to a close, he also traversed the south Pacific to Valparaiso and took the southern coastal route to Rio de Janeiro. Black also more or less circumnavigated the globe traveling from the UK, east across Europe to Tehran then on to Mumbai.
 |
| – Image by boardGOATS |
From there, he crossed the Pacific to Lima from where he traveled north, around the top of South America also making it to Rio before crossing the Atlantic to Cape Town. Part of the reason for Black and Pink choice of Routed (aside from their Tickets of course) was the fact that Teal was monopolising the Atlantic crossings, making it no fewer than five times! From his Atlantic ports, he spread into North America and across Africa to Dar es Salaam. Purple in contrast, focused her efforts on a single extended trip across the USA, found one of the few Routes across the north Atlantic not taken by Teal, journeyed across Europe following Black through Iran to the far East.
 |
| – Image by boardGOATS |
There was an unfortunate “Rules malfunction” when it came to scoring Harbours, which would have had quite a large impact on the game, but as everyone played by the same rules, it was at least fair. Instead of scoring for each Ticket into each Harbour, they simply scored ten points for their first Harbour, twenty for the second and so on. With this scoring, Pink, with his eight completed Tickets was the victor with two hundred and five points, fifteen points ahead of Teal in second and Black in third. Both groups had really enjoyed the longer and bigger challenge of Rails & Sails. The mix of boat and train cards did cause more grumbling than usual about the wrong colours being available, especially when there was an imbalance in favour of trains over boats or vice versa, but that’s just Ticket to Ride.
 |
| – Image by boardGOATS |
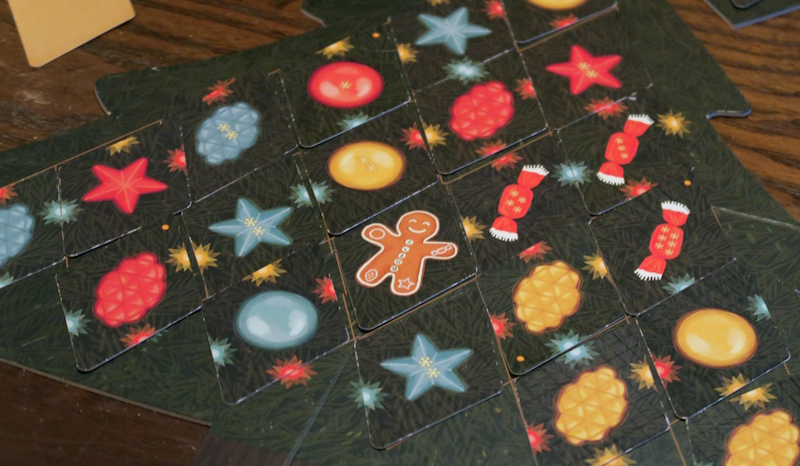
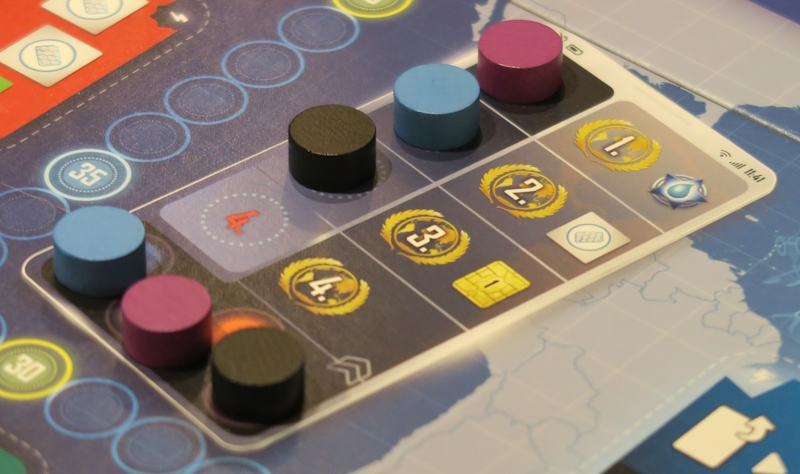
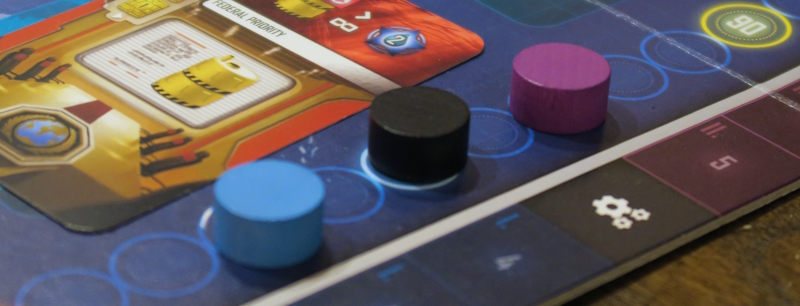
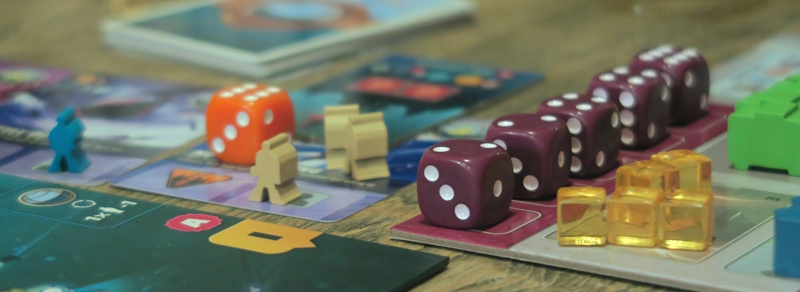
Meanwhile, the remaining group of four, Cobalt, Indigo, Navy and Blue, should really have been playing Azul (!), but after some dithering, Cobalt encouraged them to try The Artemis Project. This is a game where players are trying to develop colonies on Europa. The idea is that players roll dice and place them on action spaces to carry out actions. There are seven Regions and players take it in turns to place their dice in them. They are: Basecamp, Vents, Quarry, Gantry, Doorstep and Outfitter. At Basecamp, players go on Expedition to earn Expedition Badges and other Rewards. These are a bit like the Quests in the game Lancaster, and like the Squires in that game, dice can be augmented by Colonists.
 |
| – Image by boardGOATS |
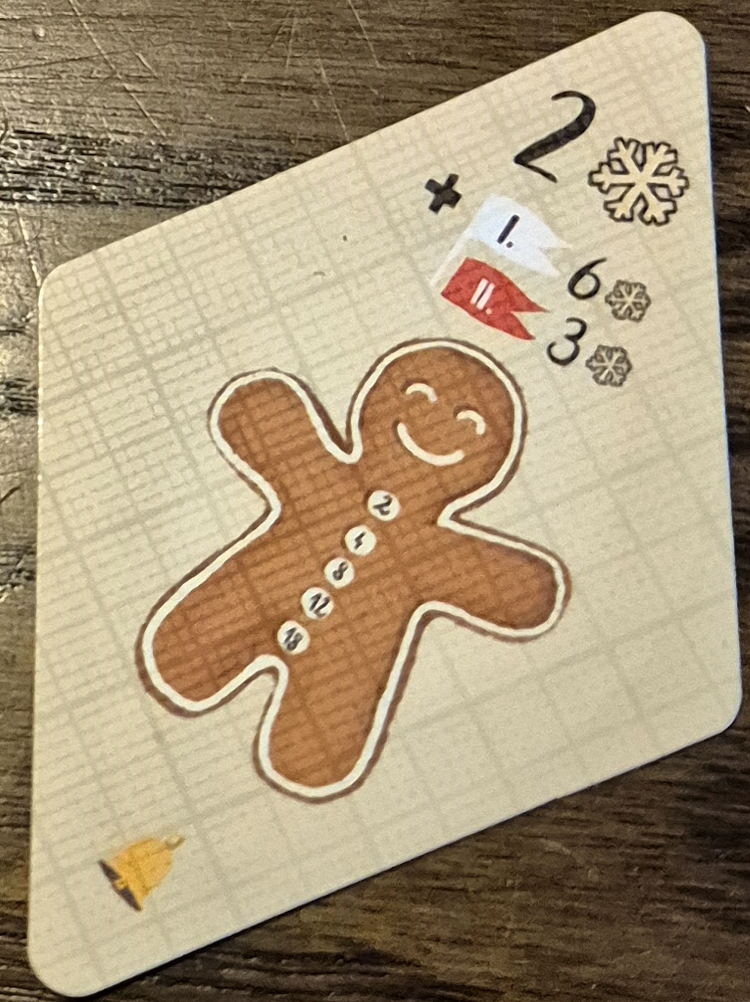
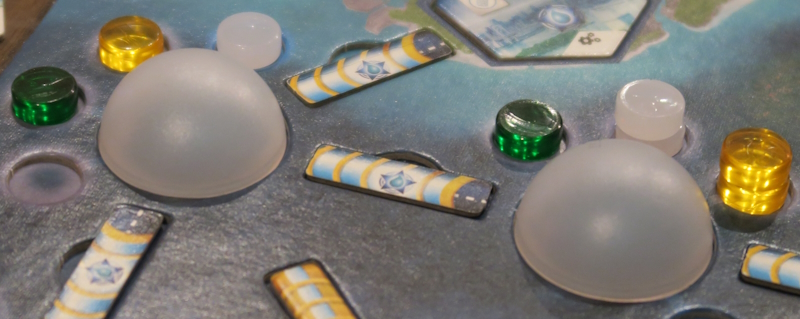
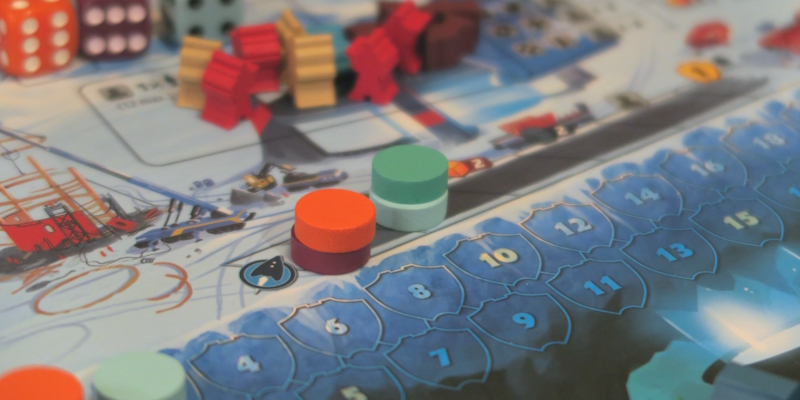
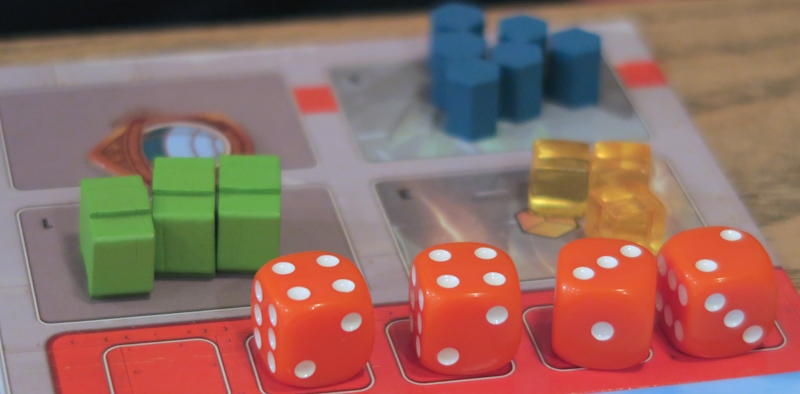
Also similarly, Expeditions are unsuccessful if a certain number of pips isn’t reached, which leaves players without their desired Rewards. In such cases, players don’t come away with nothing, instead they move their Token along the Relief Track and pick up a lesser reward. However, there is a fixed number of spaces available along the Relief Track for each person, so when they are gone, they are gone. The Vents and the Quarry provide players with Energy and Minerals respectively. The level of the action depends on the value of the dice, however, the dice are activated from the lowest to the highest. So, for example, placing a high value die like a six, will yield six Minerals, but if there are only ten available and two other players place fives, these will be activated first leaving nothing.
 |
| – Image by boardGOATS |
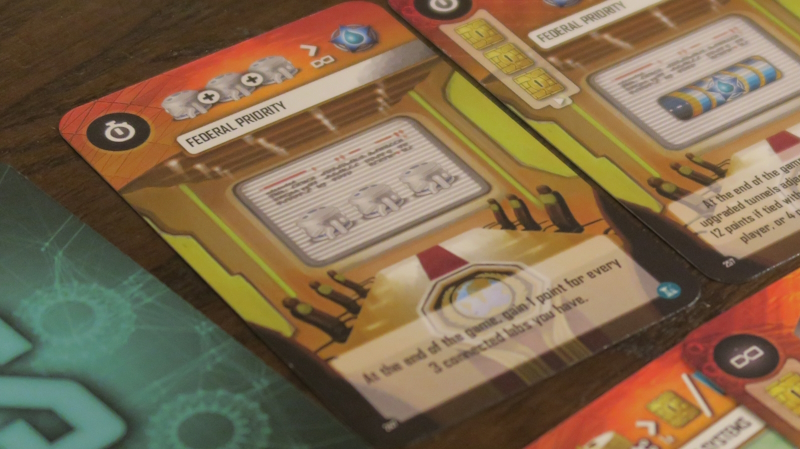
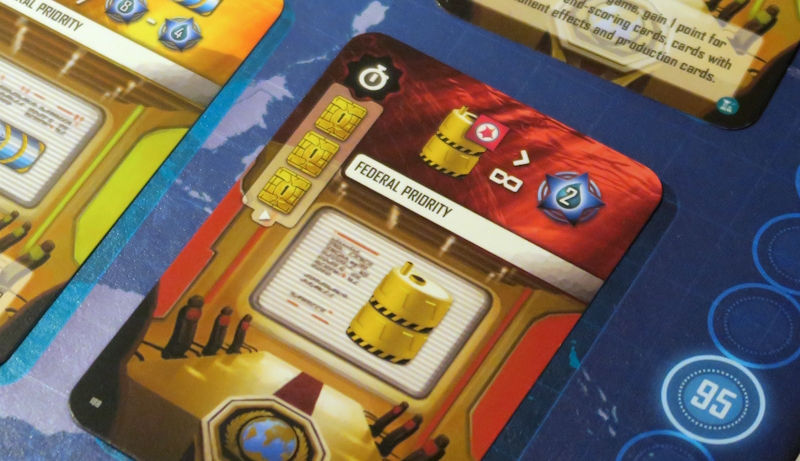
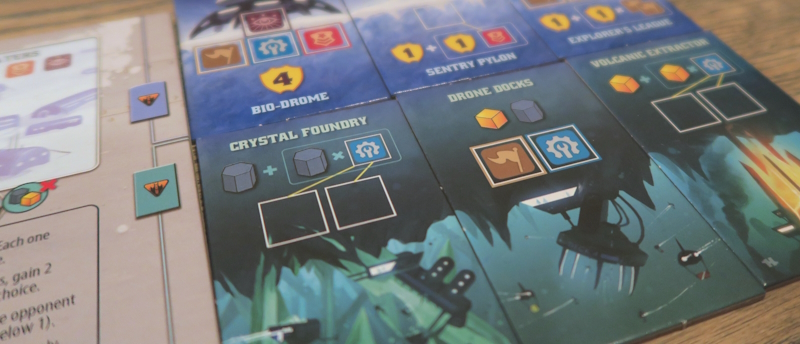
The Gantry provides Buildings, which provide players with long term benefits during the game and points towards the end of the game. Players bid for these and if they win, they must pay the bid amount in Minerals (the value of dice placed), to build them. Both the Doorstep and the Academy deal with Colonists. The Doorstep provides players with Colonists, but like the Vents and the Quarry, players who bid high, go last and may not get what they want (or even anything) while the Academy allows players to upgrade their Colonists if required. Finally, the Outfitter allows players to gain Toolkits which grease the wheels a little by allowing players to alter the values of their dice. Once all the dice have been placed, these different Regions are activated in order.
 |
| – Image by boardGOATS |
Thus, for example, Minerals collected can be used later in the same round to build Buildings, however, it is wise not to rely on that as another player can play a lower value die, easily scuppering plans. In this way, the game can be quite aggressive with intentional and unintentional conflict when players get in each other’s way. It is played over six rounds marked by Event cards associated with the Regions which are resolved before the relevant Region is activated. At the end of the game, it is a bit of a “point salad” in that players score for left-over Energy and Minerals, for Fully Staffed Buildings, for the number of Buildings, for each complete set of four different Colonists, for any Colonists not part of a set, for Expedition Badges and for having the most unused Toolkits.
 |
| – Image by boardGOATS |
Indigo clearly found the number of Regions a little bit bewildering and was keen to learn by playing, but The Artemis Project is not really a game that lends itself to that. Indeed, in spite of understanding what each Region does, there is still an element of learning by playing in order to see how things fit together. As the only one who had played it before, Cobalt stole a march by targeting the Basecamp early and grabbing one of the Expeditions, and because nobody joined him, taking both Rewards. Navy opted for the sensible choice and went for Buildings in order to get an engine going. Blue and Indigo weren’t so quick off the mark and took a little longer to work out how to put a strategy together.
 |
| – Image by boardGOATS |
As the game progressed, Indigo became the Queen of the Resources gathering piles and pales, making god use of the multiplier tokens. Blue made her way up the Relief Track after rolling some higher numbers and not using them well. This was a problem made worse by Cobalt trying to muscle in on one of her Expeditions leaving her to walk away with nothing, leaving him with nothing too. As the game came to a close, Navy had more buildings than anyone else and, as Blue and Cobalt both made a bit of a mess of things, he sailed gracefully into the lead finishing with sixty-eight points, while Blue just pipped Cobalt to second place.
 |
| – Image by boardGOATS |
Learning Outcome: Who needs Planes when you have Ships and Trains?